So you start off with a strip of paper, mine is 11in X a little less than 1/2in

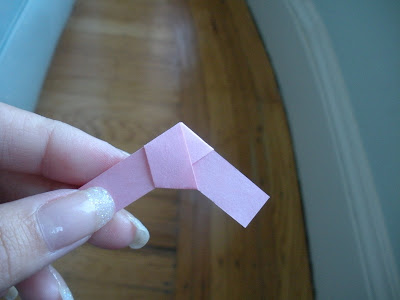
And you wrap it around and tuck it under on one side, just like tying a knot!

then you pull, more like "shimmy" it tight, but not too tight, just make the corners sharp

then you take the long side, should be on your LEFT, and bend the slack BEHIND (this is where I went wrong when I started making them off of the video on youtube) the 'knot' you just made

continue folding the slack paper around the knot making it flat and semi tight, don't worry about the slack left over from the right side of the knot it eventually gets folded into the knot as you are folding over the slack from the left side


when you get to the end you are going to tuck the last little bit under ONE of the folds on the knot, the one thats longer

Now you should have a nice, flat, and tight five sided knot, all thats left is making it 'poof'

so to do that you hold it securely inbetween your fingers and with your index fingernail push down on one of the sides of the knot

then rotate the knot over one side and continue pushing points into the sides of the knot


until you have a paper star!!!

I hope this was helpful! And remember you can use so many different types of paper to make unique stars! Even old wrapping paper would work! Have fun and make a ton of mini paper stars!


2 comments:
That is probably one of the cutest things I have ever seen! Now I want to throw a party and use those as table decorations. You're so creative Vanessa.
By the way, your nails look really pretty in the pictures.
Thanks Shelly! I really wish that my nails looked like that right now! These photos are from about a year and a half ago! I knew that I had already taken photos of making these so I just used them. I was thinking about how you said you wanted to do more origami, and this are easy to make, fun, and kind of addicting once you start. Because they are so cute! You really should try it sometime when you get back, or even on the flight! Have a great trip!
Post a Comment